Step‑by‑step ninja creami vanilla ice cream recipe for beginners
Table of Contents
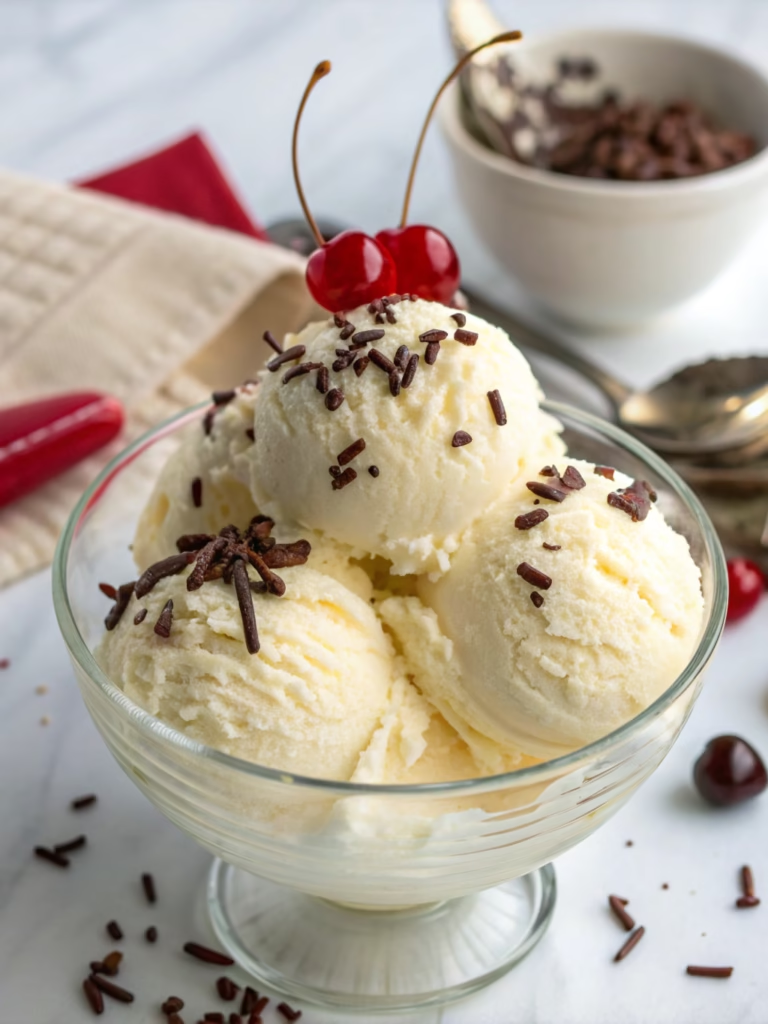
Making delicious homemade ice cream is now easier than ever with the Ninja Creami. This innovative appliance lets you make various frozen treats with little effort. It’s perfect for beginners.
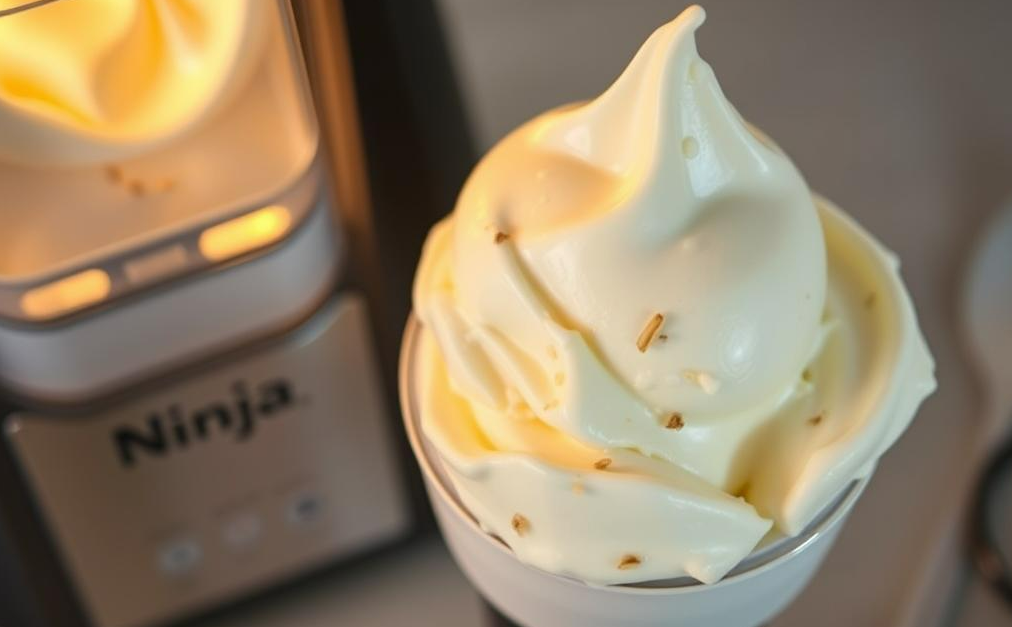
Creating smooth and creamy vanilla ice cream with the Ninja Creami is simple. This guide will show you how to make high-quality ice cream at home.
If you’re new to the Ninja Creami, check out our beginner’s guide to protein ice cream for extra tips.“
Key Takeaways
- Easy-to-follow steps for making vanilla ice cream
- Benefits of using the Ninja Creami for beginners
- Tips for achieving the perfect consistency
- Customization options for your ice cream
- Introduction to the Ninja Creami appliance
Understanding the Ninja Creami: Your New Ice Cream Making Companion
The Ninja Creami is changing how we make ice cream at home. It lets anyone make their favorite flavors easily. We’ll look at what makes it special, its basic functions, and why it’s great for beginners.
For official instructions, visit NinNinja’s Creami user manual – PDF.“
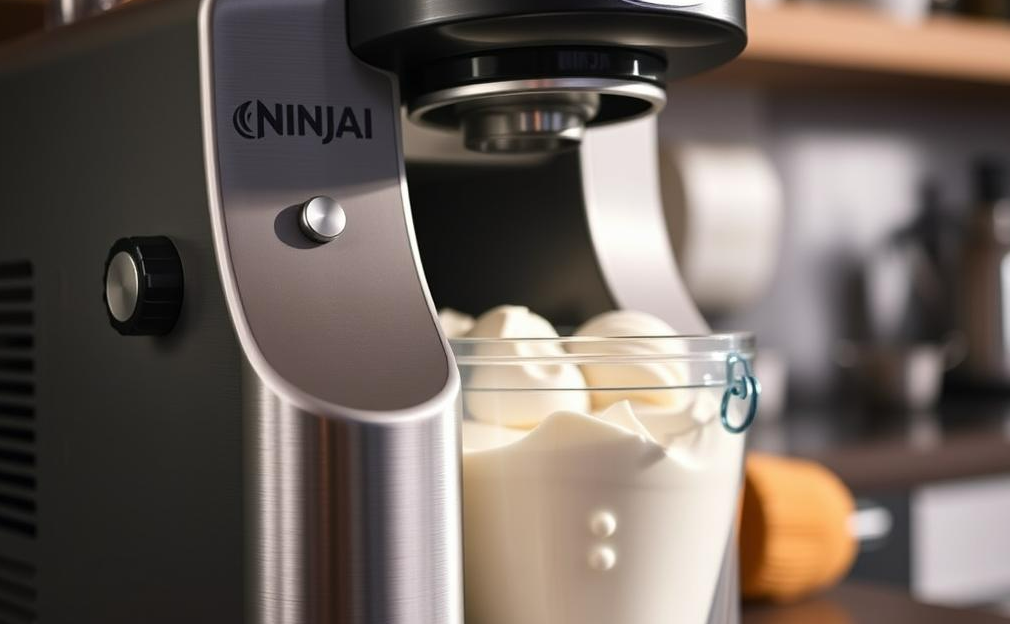
What Makes the Ninja Creami Special
The Ninja Creami is unique because of its advanced tech and easy-to-use design. It doesn’t need a pre-frozen bowl or manual churning. It creates smooth, creamy ice cream in just a few minutes. A culinary expert says, “Its quick and efficient ice cream making is a big change for home cooks.”
“The Ninja Creami has turned my kitchen into an ice cream parlor. It’s so easy to use and clean!”
Basic Functions and Settings
The Ninja Creami has settings for different textures and flavors. Its basic functions include:
- Ice Cream: For making traditional ice cream
- Gelato: For a denser, creamier texture
- Sorbet: For a dairy-free option
- Mix-in: For adding your favorite ingredients
| Function | Description | Best For |
|---|---|---|
| Ice Cream | Makes traditional ice cream | Creamy textures |
| Gelato | Creates denser, creamier gelato | Italian-style desserts |
| Sorbet | Perfect for dairy-free options | Fruit-based desserts |
Why It’s Perfect for Beginners
The Ninja Creami is perfect for beginners. It’s easy to use and has clear instructions. It does most of the work, letting you focus on trying new flavors and ingredients. Beginners can start with simple recipes like vanilla ice cream and then try more complex flavors.
Understanding the Ninja Creami’s features will help you make delicious homemade ice cream. It’s great for both seasoned cooks and beginners. This appliance will quickly become a favorite in your kitchen.
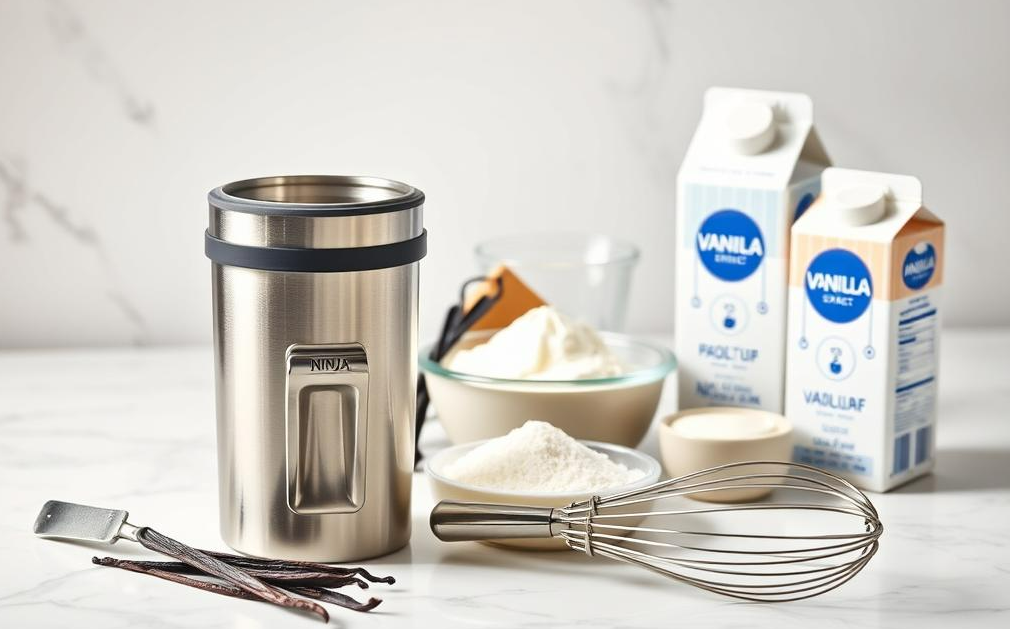
Essential Equipment and Ingredients for Perfect Vanilla Ice Cream
Creating delicious homemade vanilla ice cream starts with the right tools and ingredients. You’ll need a few key items to begin.
Required Ninja Creami Accessories
To use your Ninja Creami to the fullest, you’ll need these accessories:
- Ninja Creami pint container
- Ninja Creami lid
- Ninja Creami dasher
Ingredient List and Substitution Options
For a basic vanilla ice cream recipe, you’ll need:
| Ingredient | Quantity | Substitution Options |
|---|---|---|
| Cream | 1 cup | Half-and-half or milk |
| Milk | 1/2 cup | Almond milk or other non-dairy alternatives |
| Vanilla extract | 1 tsp | Vanilla bean or vanilla powder |
| Sugar | 1/4 cup | Honey, maple syrup, or sugar substitutes |
Quality Matters: Choosing the Best Vanilla
When it comes to vanilla, quality is paramount. Choose high-quality vanilla extract or a vanilla bean for a rich flavor. Madagascar Bourbon vanilla is a favorite among ice cream lovers.
With the right equipment and ingredients, you’re ready to make delicious vanilla ice cream with your Ninja Creami.
Preparing Your Kitchen and Workspace
To make ice cream smoothly, your kitchen needs to be ready. A tidy workspace makes things easier and safer. It helps you cook better.
Setting Up Your Ninja Creami
Start by unpacking and setting up your Ninja Creami. Make sure all parts are clean and dry. Read the user manual to know how to use it right.
Organizing Ingredients for Efficiency
Then, arrange your ingredients neatly. This makes making ice cream faster and easier. Keep everything you need close by.
Safety Considerations for Beginners
Don’t forget about safety. Keep your kitchen clean and free from things that could trip you. Be careful with the Ninja Creami and follow the safety rules.
The Complete Ninja Creami Vanilla Ice Cream Recipe Step-by-Step
The Ninja Creami makes making ice cream easy. Follow this guide to make perfect vanilla ice cream. It’s all about following a few key steps for creamy and tasty ice cream.
Creating the Base Mixture
To begin, mix the base for your vanilla ice cream. In a bowl, combine 1 cup of heavy cream, 1/2 cup of whole milk, 1/4 cup of granulated sugar, and 1 teaspoon of pure vanilla extract. Whisk until the sugar dissolves for a smooth ice cream.
Tip: High-quality vanilla extract makes your ice cream taste better.
Freezing Process
Put the base mixture in the Ninja Creami pint container and freeze it. Freeze it for at least 24 hours for the best consistency. Make sure the container is level in the freezer for even freezing.
Processing in the Ninja Creami
Once frozen, take it out and put it in the Ninja Creami. Use the “Ice Cream” setting for creamy ice cream. It’s amazing how easy it is to make professional-quality ice cream at home with the Ninja Creami.
Re-spinning for Perfect Texture
After processing, check if your ice cream is creamy enough. If not, use the “Re-spin” function to smooth it out. This step is key for that perfect, smooth texture.
By following these steps and using your Ninja Creami, you’ll make delicious vanilla ice cream. Enjoy the process and the tasty results!
Mastering Ninja Creami Settings for Ideal Texture
Getting to know the Ninja Creami’s settings is key to making ice cream just right. It has many options to let you tailor your ice cream to your liking.
Understanding the Different Processing Options
The Ninja Creami has settings for Ice Cream, Gelato, and Re-spin. Each one makes a different texture. For example, the Ice Cream setting gives you a smooth and creamy ice cream. The Gelato setting makes it denser and creamier.
When to Use Re-spin Function
The Re-spin function is great for making ice cream creamier or if it’s too soft. If your ice cream is not thick enough after the first process, use Re-spin to make it thicker.
Achieving Your Preferred Consistency
To get the consistency you want, try out the different settings and see what works best. For softer ice cream, stop at the first process. For thicker ice cream, use Re-spin. The secret to using the Ninja Creami well is knowing how to adjust the settings for your ice cream.
Common Beginner Mistakes and How to Avoid Them
To make perfect ice cream with your Ninja Creami, it’s key to know and dodge common mistakes. Making ice cream can be fun and rewarding if done right.
Incorrect Ingredient Ratios
One big mistake is using the wrong ingredient ratios. Getting the right mix of cream, sugar, and flavorings is key for the right taste and texture. Always measure ingredients accurately to avoid this mistake.
Freezing Time Errors
Another common error is not freezing the mix long enough. Insufficient freezing can make the ice cream too soft or uneven. Always follow the recommended freezing times.
Processing Technique Mistakes
How you process the mix can also impact the final product. Over- or under-processing can lead to bad textures. Monitor the processing time and adjust as needed based on the Ninja Creami’s settings and your taste.
Knowing these common mistakes and how to avoid them will help you make great ice cream with your Ninja Creami. As an expert says,
“The key to perfect ice cream is in the details.”
Focus on the right ingredient ratios, freezing times, and processing techniques for the best results.
Troubleshooting Common Ninja Creami Ice Cream Issues
Using the Ninja Creami to make ice cream at home can sometimes lead to problems. You might face issues like texture problems or uneven processing. Knowing how to fix these common issues can make your ice cream making experience better.
Fixing Icy or Grainy Texture
An icy or grainy texture in your Ninja Creami ice cream can be a letdown. This usually happens if the base mixture isn’t mixed well or if it’s not frozen enough. Make sure your ingredients are well mixed before freezing, and freeze for the right amount of time. If it still doesn’t work, try changing your recipe or re-spinning the ice cream.
Addressing Overly Soft Results
If your Ninja Creami ice cream is too soft, it might be because it wasn’t frozen enough or was over-processed. Check that your freezer is at the right temperature and that you’ve frozen the mixture for the full time. If it’s still too soft after processing, try freezing it again and then re-processing it.
Solving Uneven Processing Problems
Uneven processing can cause your ice cream to have an inconsistent texture. This might happen if the mixture isn’t spread out evenly in the Ninja Creami pint container or if the device isn’t put together right. To fix this, make sure you’re using the right amount of mixture and that the container is aligned and locked before processing.
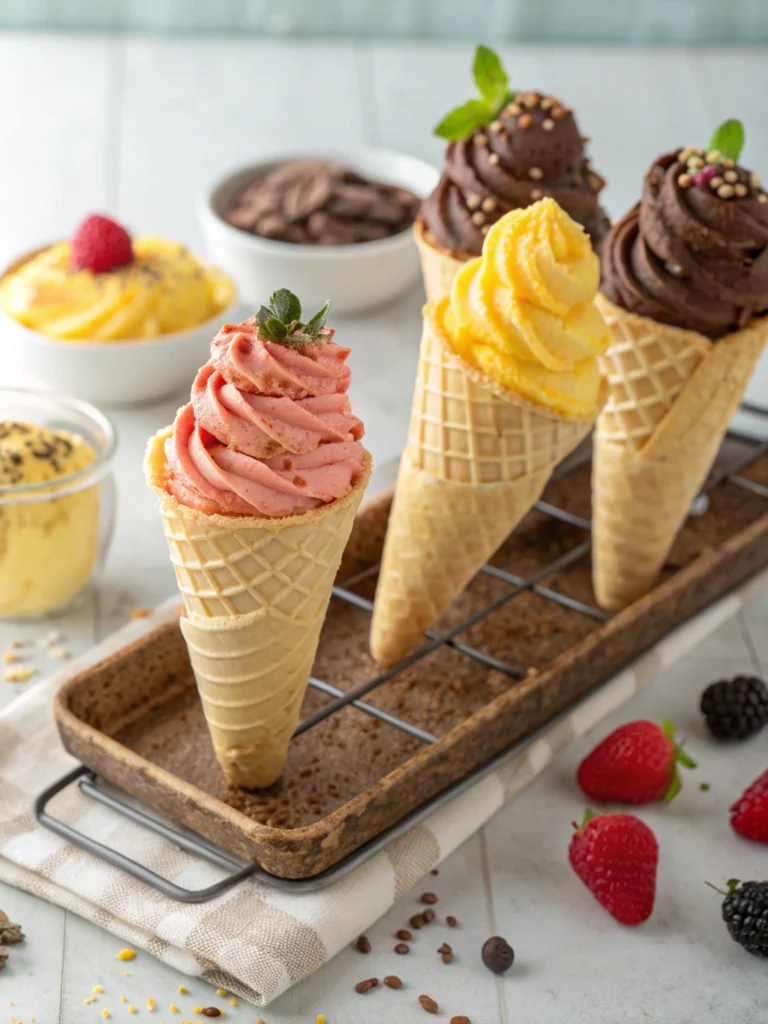
Flavor Variations for Your Ninja Creami Vanilla Ice Cream
Want to make your Ninja Creami vanilla ice cream even better? Try adding different mix-ins and flavor enhancers. The Ninja Creami is super versatile. You can make everything from classic flavors to new ones.
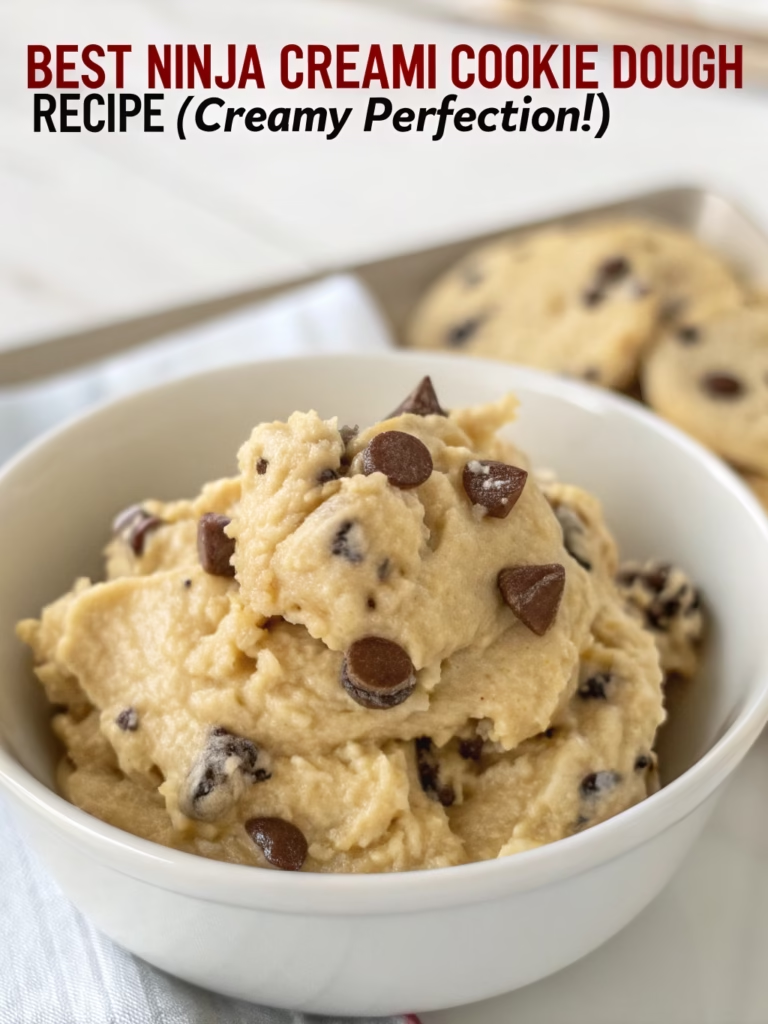
Adding Mix-ins After Processing
Customizing your vanilla ice cream is easy. Just add mix-ins after processing. This way, your mix-ins like chocolate chips, nuts, or fruit stay intact. Simply mix them into the ice cream, and you’re set for a special treat.
Popular Mix-in Options:
- Crushed cookies (e.g., chocolate sandwich cookies or peanut butter cookies)
- Chocolate chunks or chocolate chips
- Fresh or dried fruits (e.g., strawberries, blueberries, or cranberries)
- Nuts (e.g., almonds, walnuts, or pecans)
- Candy pieces (e.g., M&M’s or peanut butter cups)
Creating French Vanilla Variation
Want a richer vanilla taste? Try making French vanilla. Add egg yolks to your base before processing. They make the flavor richer and the ice cream creamier.
To make French vanilla ice cream:
- Add 2-3 egg yolks to your base mixture
- Use a bit more sugar to balance the egg yolks’ richness
- Follow the recipe as usual
Vanilla Bean vs. Extract Options
Choosing between vanilla beans or extract depends on your taste. Vanilla beans give a richer, more complex flavor. Vanilla extract offers a cleaner, more consistent taste. It’s all about what you prefer and how strong you like your vanilla.
| Feature | Vanilla Beans | Vanilla Extract |
|---|---|---|
| Flavor Profile | Rich, complex, with specks | Clean, consistent vanilla flavor |
| Preparation | Requires scraping or infusing | Easy to use, just add to mixture |
| Cost | Generally more expensive | Less expensive than high-quality beans |
Healthier Alternatives for Your Ninja Creami Recipe
Healthier options for your Ninja Creami recipe don’t mean you have to give up taste or texture. A few smart choices can make your favorite vanilla ice cream guilt-free.
Low-Sugar Modifications
Lowering sugar in your Ninja Creami recipe is easy. Try using honey or maple syrup instead. You can also use sugar substitutes like stevia or erythritol.
- Start by cutting down the sugar in the original recipe.
- Try different natural sweeteners to find your favorite.
- Use fruit purees as a sweet alternative.
Dairy-Free Vanilla Ice Cream Options
If you’re looking for dairy-free options, there are many choices. You can use coconut milk or coconut cream, or try almond milk, cashew milk, or other nut milks.
- Coconut milk or coconut cream for a rich texture.
- Almond milk or cashew milk for a lighter version.
- Oat milk or other grain-based milks for a unique flavor.
Protein-Enhanced Variations
To increase the protein in your Ninja Creami ice cream, add whey protein powder or plant-based proteins like pea protein.
- Whey protein powder for a protein boost.
- Plant-based proteins for a vegan option.
With these healthier alternatives, you can enjoy your Ninja Creami vanilla ice cream. It’s perfect for those with dietary needs or preferences.
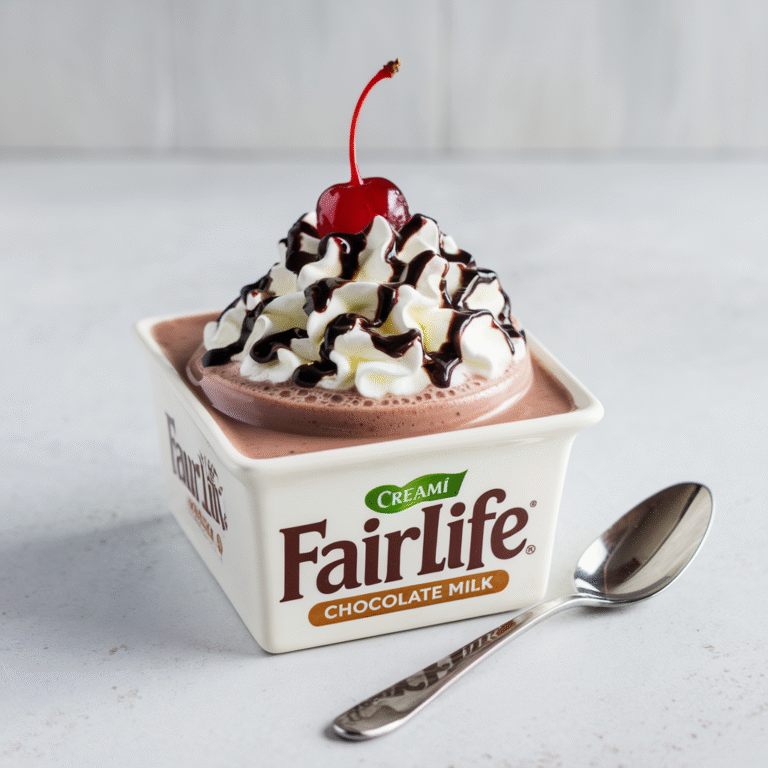
Storing and Serving Your Homemade Ninja Creami Ice Cream
Now that you’ve made your Ninja Creami ice cream, let’s talk about how to store and serve it. This will help keep its taste and creamy texture just right.
Proper Storage Containers and Temperature
To keep your homemade ice cream fresh, store it in an airtight container at 0°F (-18°C) or below. The Ninja Creami comes with a special container for this. But if you need other options, look for ones with tight-fitting lids to keep air out.
Preventing Freezer Burn
Freezer burn can ruin the taste and texture of your ice cream. To avoid this, make sure your container is sealed well. You can also use plastic wrap or wax paper on the ice cream’s surface before closing the lid.
Ideal Serving Temperature and Techniques
For the best taste, serve your Ninja Creami ice cream between 10°F (-12°C) and 15°F (-9°C). Take it out of the freezer 5-10 minutes before serving. Use a warm scoop to make serving easier and prevent sticking.
| Storage Tip | Benefit |
|---|---|
| Airtight Container | Prevents air from entering and causing ice crystals |
| Layer of Plastic Wrap | Additional protection against freezer burn |
| Warm Scoop | Eases serving and prevents sticking |
By following these tips, you can enjoy your homemade Ninja Creami ice cream at its best every time.
Conclusion: Enjoying Your Ninja Creami Vanilla Ice Cream Journey
Now that you’ve made your creami vanilla ice cream, it’s time to enjoy it. Savor the delicious taste and texture of your homemade ice cream. Feel free to experiment with different flavors and mix-ins to create unique variations.
Enjoying your ice cream is not just about the taste; it’s also about the experience. Share your creations with friends and family. Don’t be afraid to try new ingredients and recipes. The Ninja Creami is a versatile tool that allows you to explore a world of possibilities in the realm of frozen treats.
As you continue on your Ninja Creami journey, remember to store your ice cream properly. This will help maintain its quality and texture. With the right techniques and a bit of creativity, you can enjoy your creami vanilla ice cream and other flavors whenever you want.
With these steps, you’ll master vanilla ice cream in your Ninja Creami! Next, try our classic vanilla base recipe or explore healthy low-sugar options.
FAQ
What is the Ninja Creami, and how does it work?
The Ninja Creami is a new ice cream maker. It lets you make many frozen treats easily. You can make creamy ice cream, gelato, or frozen yogurt with it.
Can I use the Ninja Creami to make other flavors besides vanilla ice cream?
Yes, you can! The Ninja Creami is very versatile. You can try different mix-ins, flavor extracts, and ingredients. This way, you can make many unique and tasty flavors.
What type of vanilla is best for making ice cream with the Ninja Creami?
For the best taste, use high-quality vanilla extract or vanilla beans. Choose what you like best for your ice cream’s vanilla flavor.
How do I achieve the perfect texture with my Ninja Creami?
To get the perfect texture, know how to use your Ninja Creami’s settings. Use the re-spin function when needed. Also, freeze your mixture right and don’t over- or under-process it.
Can I make dairy-free or low-sugar ice cream with the Ninja Creami?
Yes, you can! The Ninja Creami lets you make many different types of ice cream. You can use dairy-free options and less sugar to make healthier ice cream.
How should I store my homemade Ninja Creami ice cream?
To keep your ice cream fresh, store it in a sealed container at 0°F (-18°C) or below. This helps prevent freezer burn. Use a container made for frozen storage.
What are some common mistakes to avoid when using the Ninja Creami?
Avoid using the wrong ingredient ratios and not freezing the mixture enough. Also, don’t misuse the settings. Knowing these mistakes can help you make better ice cream.
How do I troubleshoot issues like icy texture or uneven processing?
To fix these problems, adjust your ingredients and make sure the mixture is frozen long enough. Try different settings on the Ninja Creami. Re-spinning can also fix texture issues.