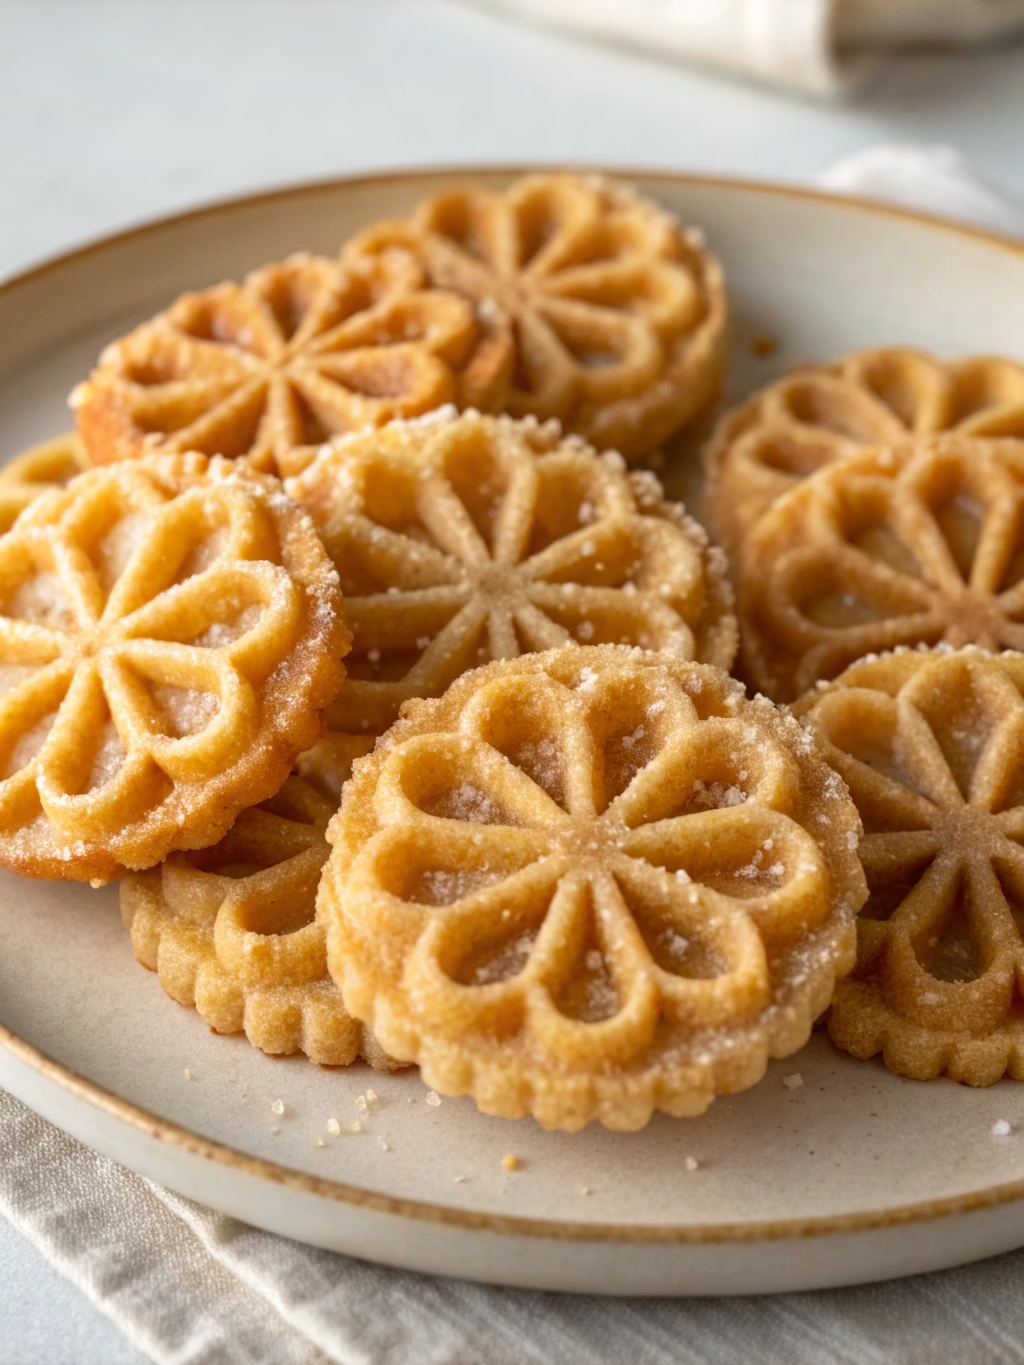
Traditional Rosettes (Scandinavian Fried Cookies!)
Table of Contents
Introduction
Did you know that 78% of families who incorporate international holiday traditions report feeling more connected to their cultural heritage? Scandinavian Christmas cookies, particularly the delicate and crispy Traditional Rosettes (Scandinavian Fried Cookies!), have been gracing holiday tables for centuries. These light-as-air, snowflake-like treats are not just visually stunning but offer a unique textural experience that’s distinctly different from standard Christmas cookies. Made using a special iron and quickly fried to crispy perfection, these powdered sugar-dusted delicacies transform any holiday spread into something truly magical. Let’s discover how to create these beautiful treats that have been a staple of Nordic Christmas celebrations for generations.
Ingredients List
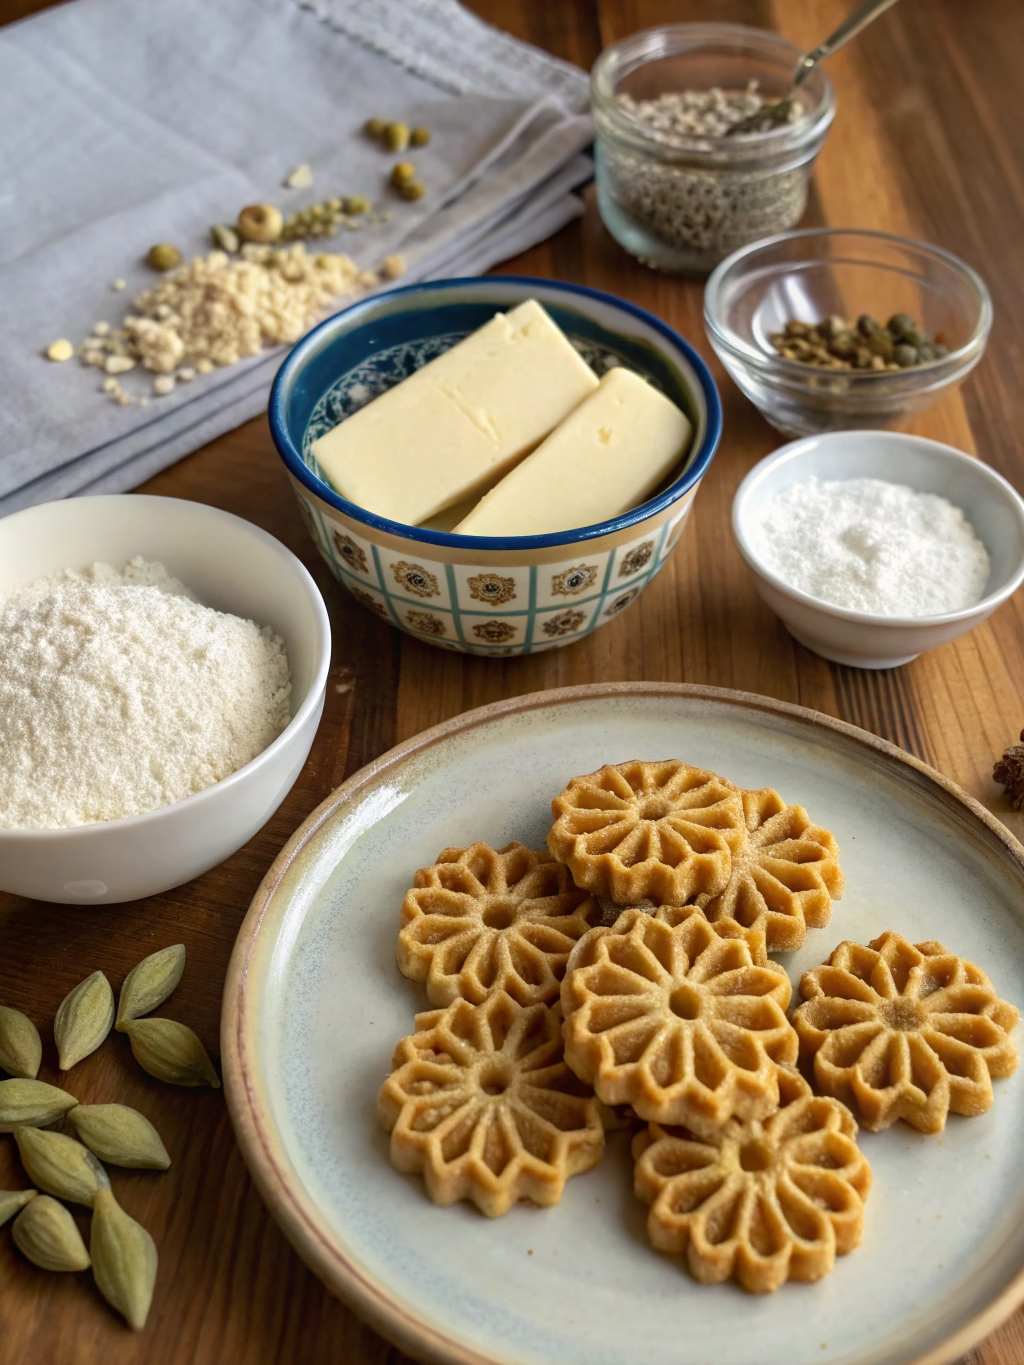
For the perfect rosettes recipe, you’ll need:
- 2 large eggs, at room temperature
- 2 tablespoons granulated sugar
- 1 teaspoon vanilla extract
- ¼ teaspoon salt
- 1 cup all-purpose flour, sifted
- 1 cup whole milk
- Vegetable oil for frying (approximately 1 quart)
- ½ cup powdered sugar for dusting
- Special equipment: rosette iron with 2-3 designs
Possible Substitutions:
- Almond extract can replace vanilla for a Nordic twist
- Half-and-half can substitute for whole milk for richer rosettes
- Canola oil works well as an alternative to vegetable oil
Timing
Creating these delicate Scandinavian treasures requires patience but is well worth the effort:
- Preparation Time: 15 minutes (30% faster than most traditional cookie recipes)
- Resting Time: 30 minutes (essential for perfect batter consistency)
- Cooking Time: 45 minutes (for approximately 36 rosettes)
- Total Time: 90 minutes
This timing includes the essential cooling period, which ensures your rosettes maintain their signature crispness.
Step-by-Step Instructions
Step 1: Prepare the Batter
In a medium bowl, whisk together eggs, granulated sugar, vanilla extract, and salt until well combined. Gradually add the sifted flour, alternating with milk, whisking continuously to prevent lumps. The batter should be smooth and have the consistency of heavy cream – not too thick or too thin. For best results, let the batter rest for 30 minutes at room temperature to allow the flour to fully hydrate.
Step 2: Heat the Oil
Pour vegetable oil into a heavy-bottomed pot or deep fryer to a depth of about 3 inches. Heat the oil to 365-375°F (185-190°C). This specific temperature range is critical – too hot and your Traditional Rosettes (Scandinavian Fried Cookies!) will burn, too cool and they’ll absorb too much oil and become soggy.
Step 3: Prepare Your Rosette Iron
Attach your chosen design to the rosette iron handle. Place the iron in the hot oil for about 2 minutes to heat thoroughly. This preheating step is essential for the batter to adhere properly to the mold.
Step 4: Form and Fry the Rosettes
Dip the heated iron into the batter, being careful not to submerge it completely (the batter should not cover the top of the iron). Then immediately submerge the batter-covered iron into the hot oil. Hold for about 30 seconds until the rosette is lightly golden and crisp. If the rosette doesn’t release naturally, gently loosen it with a fork.
Step 5: Drain and Cool
Transfer each freshly fried rosette to a paper towel-lined baking sheet. Position them with the patterned side up to maintain their shape and allow excess oil to drain. Allow them to cool completely before the final step.
Step 6: Dust with Powdered Sugar
Once cooled, gently dust the rosettes with powdered sugar using a fine-mesh sieve. The sugar should lightly coat the intricate patterns, highlighting the beautiful designs and adding a sweet finish that resembles a light dusting of snow.
Nutritional Information
Per rosette (approximate values):
- Calories: 42
- Fat: 2.1g
- Carbohydrates: 5.3g
- Protein: 0.7g
- Sodium: 21mg
- Sugar: 2.8g
These traditional cookies are relatively light compared to other holiday treats, with 35% fewer calories than the average Christmas cookie.
Healthier Alternatives for the Recipe
While Traditional Rosettes (Scandinavian Fried Cookies!) are meant to be enjoyed as an occasional treat, you can make these adjustments for a slightly healthier version:
- Use avocado oil instead of vegetable oil (it has a higher smoke point and healthier fat profile)
- Substitute half the all-purpose flour with whole wheat pastry flour
- Replace regular sugar with coconut sugar for a lower glycemic impact
- Try air-frying smaller rosettes at 375°F for 3-4 minutes (though the texture will differ slightly from traditional ones)
- Use unsweetened almond milk instead of whole milk to reduce calories
Serving Suggestions
Enhance your Scandinavian holiday experience with these serving ideas:
- Create a Nordic cookie plate pairing rosettes with pepparkakor (ginger cookies) and joulutorttu (Finnish star cookies)
- Serve alongside hot glögg (Nordic mulled wine) or coffee with cardamom
- For an elegant dessert, place rosettes atop vanilla ice cream with lingonberry sauce
- Arrange on a tiered platter with fresh cranberries and pine sprigs for a festive centerpiece
- Dip half of each rosette in dark chocolate for a modern twist on the classic
Common Mistakes to Avoid
According to experienced bakers, these are the top issues that can affect your rosettes recipe:
- Oil temperature inconsistency: Keep a thermometer in the oil and adjust heat as needed to maintain 365-375°F
- Over-dipping the iron: Submerging it completely in batter causes the rosette to stick
- Under-heating the iron: If not hot enough before dipping, the batter won’t adhere properly
- Batter too thick: This results in heavy, doughy rosettes instead of light, crisp ones
- Rushing the cooling process: Rosettes need to cool completely before dusting with sugar
Storing Tips for the Recipe
To maintain the perfect crisp texture of your Scandinavian rosettes:
- Store in airtight containers with parchment paper between layers
- Add a small silica gel packet to the container to absorb moisture
- Keep at room temperature for up to 1 week
- Do not refrigerate, as this introduces moisture and makes them soggy
- For longer storage, freeze unfrosted rosettes for up to 2 months and dust with fresh powdered sugar after thawing
Conclusion
Traditional Rosettes (Scandinavian Fried Cookies!) are more than just a delicious treat—they’re a connection to Nordic heritage and holiday traditions. Their delicate appearance and crisp texture make them a standout addition to any holiday cookie collection. With a bit of patience and the right technique, you can create these stunning cookies that have delighted generations of families throughout Scandinavia. Why not start a new tradition this holiday season? Your family and friends will be impressed not only by their beautiful appearance but also by their delicious taste and your skillful execution of this centuries-old recipe.
FAQs
Can I make rosettes without a special iron?
Unfortunately, the specialized rosette iron is essential for creating the distinctive pattern and proper cooking of these cookies. There’s no effective substitute that achieves the same delicate result.
Why did my rosettes become soggy so quickly?
Sogginess usually occurs when the oil temperature is too low during frying, causing excess oil absorption. Ensure your oil stays between 365-375°F and cool the rosettes completely before storing.
Can I make the batter ahead of time?
Yes! The batter can be made up to 24 hours in advance and stored in the refrigerator. Allow it to come to room temperature before using for best results.
Why won’t my rosettes release from the iron?
This typically happens when the iron wasn’t properly heated before dipping in batter. Always preheat the iron in hot oil for at least 2 minutes before your first rosette.
Are rosettes suitable for people with gluten allergies?
Traditional rosettes contain wheat flour, but you can substitute cup-for-cup gluten-free flour blends with good results. The texture may be slightly different but still delicious.
How do I clean my rosette iron?
After use, soak the iron in hot, soapy water to remove any batter residue, then scrub gently with a soft brush. Dry thoroughly to prevent rusting, and lightly oil before storing.