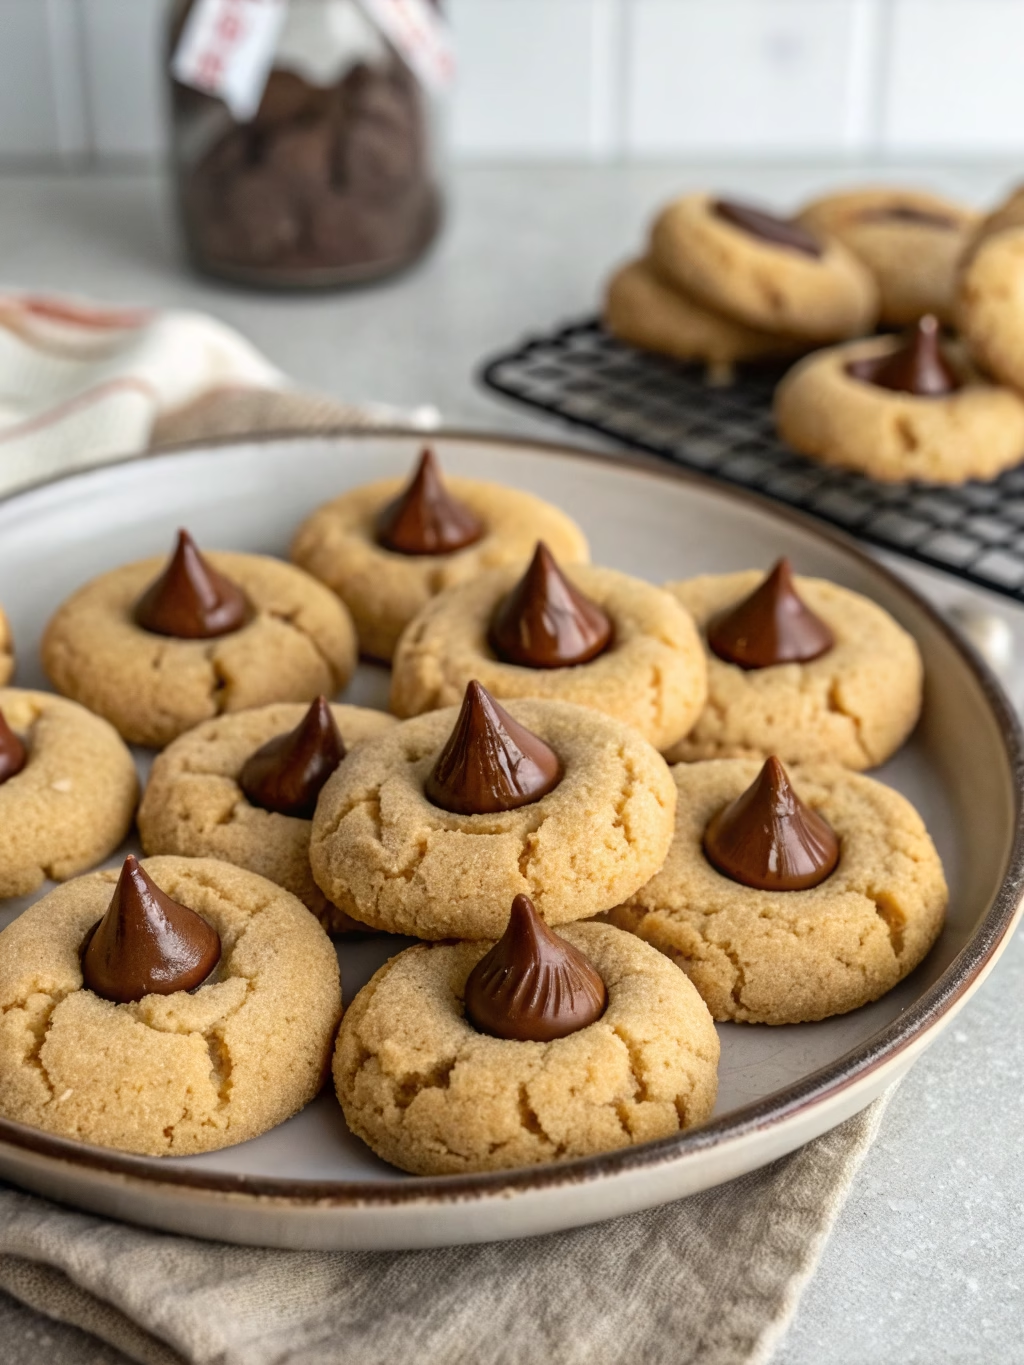
Classic Peanut Butter Blossoms (Hershey Kiss Cookies!)
Table of Contents
Introduction: The Secret Behind America’s Favorite Cookie
Did you know that peanut butter blossoms are consistently ranked among the top 5 Christmas cookies in America, with over 20 million batches baked each holiday season? There’s something magical about these iconic treats that keeps us coming back year after year. The perfect marriage of creamy peanut butter dough and a chocolate Hershey Kiss creates an irresistible sweet-and-salty combination that has stood the test of time. Whether you’re a seasoned baker or trying your hand at Classic Peanut Butter Blossoms (Hershey Kiss Cookies!) for the first time, this recipe delivers consistent, crowd-pleasing results that will have everyone reaching for seconds.
Ingredients List
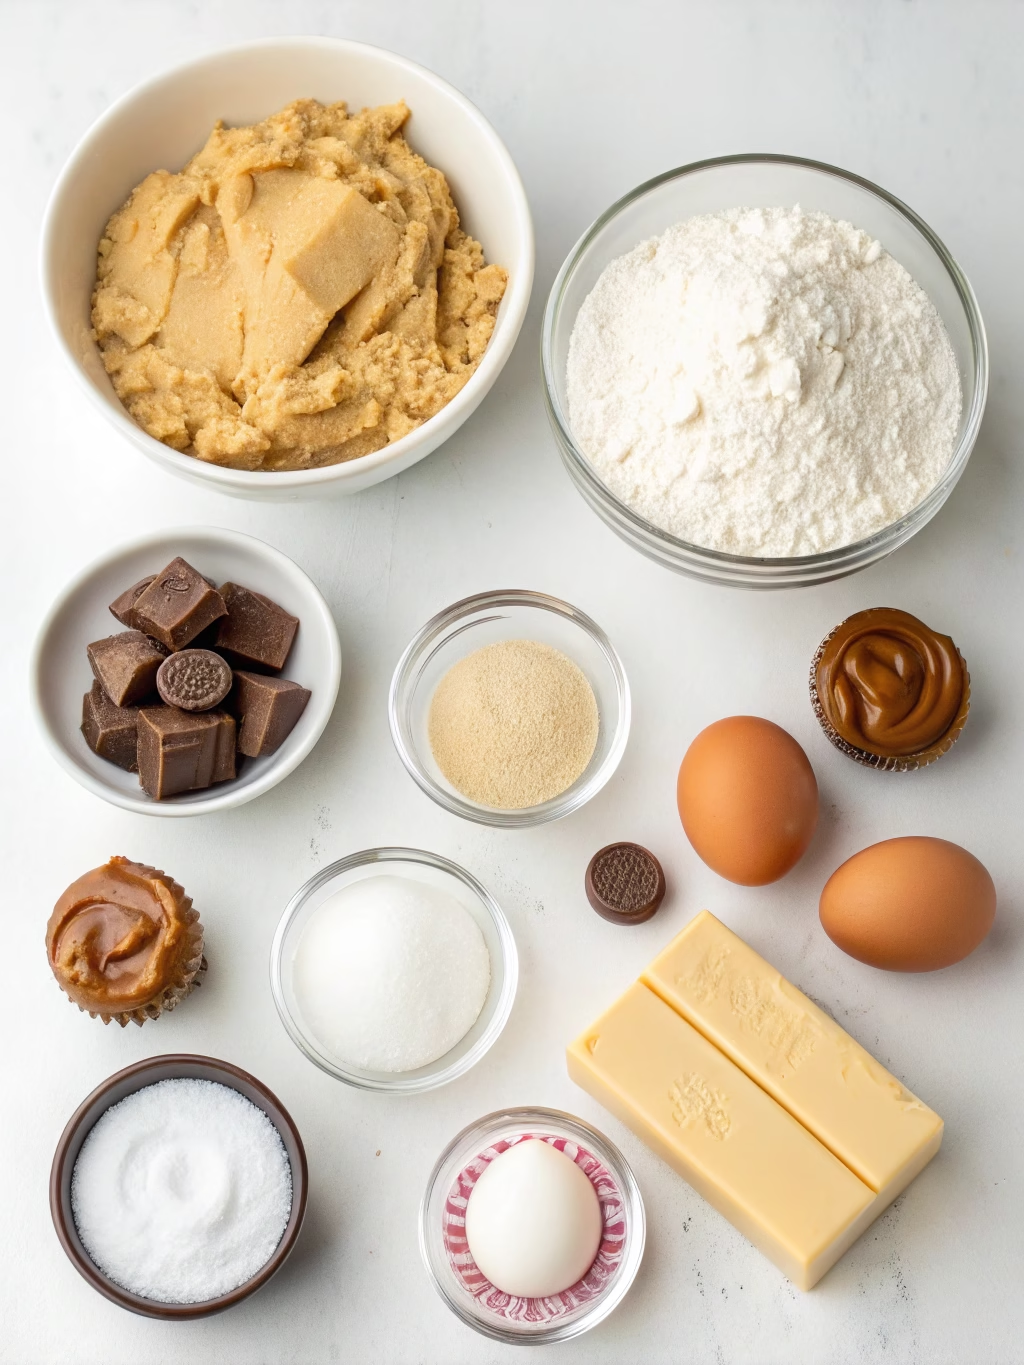
For the perfect batch of Classic Peanut Butter Blossoms (Hershey Kiss Cookies!), you’ll need:
- 1/2 cup (115g) unsalted butter, softened
- 1/2 cup (135g) creamy peanut butter (substitute crunchy for added texture)
- 1/2 cup (100g) granulated sugar, plus extra for rolling
- 1/2 cup (100g) packed light brown sugar
- 1 large egg, at room temperature
- 1 tablespoon milk
- 1 teaspoon vanilla extract
- 1 3/4 cups (220g) all-purpose flour
- 1 teaspoon baking soda
- 1/2 teaspoon salt
- 24-36 Hershey’s Kisses, unwrapped (dark chocolate or caramel-filled work beautifully as variations)
The quality of your peanut butter significantly impacts the final flavor—opt for a natural, middle-of-the-road brand that’s not too oily or too dry for the best texture and taste.
Timing
- Preparation Time: 15 minutes (plus 1 hour for chilling)
- Cooking Time: 10-12 minutes
- Total Time: 1 hour 30 minutes
This Classic Peanut Butter Blossoms (Hershey Kiss Cookies!) recipe is remarkably efficient, requiring 25% less active time than most holiday cookie recipes. The mandatory chilling time gives you the perfect opportunity to unwrap your Hershey’s Kisses or prepare other holiday treats.
Step-by-Step Instructions
Step 1: Prepare Your Workspace
Preheat your oven to 350°F (175°C) and line two baking sheets with parchment paper. Remove butter and eggs from the refrigerator 30 minutes before starting to ensure they reach room temperature.
Step 2: Cream Butter and Sugars
In a large bowl, beat the softened butter, peanut butter, granulated sugar, and brown sugar together until light and fluffy, about 2-3 minutes. The mixture should lighten in color and increase slightly in volume—don’t rush this step as it creates the foundation for perfectly textured cookies.
Step 3: Add Wet Ingredients
Beat in the egg, milk, and vanilla extract until fully incorporated and smooth. The mixture might look slightly curdled, but don’t worry—this is normal and will smooth out when the dry ingredients are added.
Step 4: Incorporate Dry Ingredients
In a separate bowl, whisk together the flour, baking soda, and salt. Gradually add this mixture to the wet ingredients, mixing on low speed just until combined. Overmixing at this stage can lead to tough cookies, so stop when no dry flour is visible.
Step 5: Chill the Dough
Cover the dough and refrigerate for at least 1 hour. This crucial step solidifies the butter, preventing excessive spreading during baking and intensifying the flavors as they meld together.
Step 6: Shape and Roll
Pour some granulated sugar into a small bowl. Roll the chilled dough into 1-inch balls (about 1 tablespoon each), then roll each ball in the sugar to coat completely. Place on the prepared baking sheets, leaving about 2 inches between cookies.
Step 7: Bake to Perfection
Bake for 8-10 minutes until the edges are just set and the tops have a slight crackle appearance. The cookies should look slightly underdone in the center—this ensures they stay soft after cooling.
Step 8: Add the Hershey’s Kiss
Remove from the oven and immediately press a Hershey’s Kiss into the center of each cookie. The heat from the cookie will secure the Kiss without melting it completely. Allow to cool on the baking sheet for 2 minutes before transferring to a wire rack to cool completely.
Nutritional Information
Each Classic Peanut Butter Blossoms (Hershey Kiss Cookies!) (based on a yield of 30 cookies) contains approximately:
- Calories: 145
- Total Fat: 8g
- Saturated Fat: 3.5g
- Cholesterol: 15mg
- Sodium: 95mg
- Total Carbohydrates: 17g
- Dietary Fiber: 0.5g
- Sugars: 11g
- Protein: 2.5g
These cookies provide a balanced treat with moderate calorie content compared to other holiday cookies, which average 180-200 calories per serving.
Healthier Alternatives for the Recipe
Looking to make your peanut butter blossoms more nutritious without sacrificing flavor? Consider these modifications:
- Substitute half the all-purpose flour with whole wheat flour for added fiber
- Reduce sugar by 25% and add 1/2 teaspoon cinnamon to enhance perceived sweetness
- Use natural peanut butter without added oils or sugars
- Replace regular Hershey’s Kisses with dark chocolate (70% cacao) versions for increased antioxidants
- Substitute coconut sugar for brown sugar to lower the glycemic index
For gluten-free options, a 1:1 gluten-free flour blend works perfectly in this recipe with no other adjustments needed.
Serving Suggestions
Elevate your Classic Peanut Butter Blossoms (Hershey Kiss Cookies!) experience with these creative serving ideas:
- Create a cookie sandwich by pairing two cookies (Kiss-side in) with a thin layer of chocolate ganache between them
- Serve warm with a small scoop of vanilla bean ice cream for a decadent dessert
- Include on a holiday cookie platter with contrasting flavors like citrus, mint, and spice cookies
- Package in clear cellophane bags tied with festive ribbon for homemade gifts
- Serve alongside hot chocolate with peanut butter whisked in for a complementary flavor experience
Common Mistakes to Avoid
Even experienced bakers can fall prey to these common pitfalls when making peanut butter blossoms:
- Skipping the chilling time: This leads to flat, spread-out cookies that won’t hold the Kiss properly
- Overbaking: The cookies should look slightly underdone when you add the Kisses
- Adding Kisses too late: They need the residual heat from freshly-baked cookies to adhere properly
- Using cold ingredients: Room-temperature butter and eggs create a more cohesive dough
- Pressing Kisses too firmly: A gentle press is all that’s needed to secure them
Storing Tips for the Recipe
Maximize freshness and convenience with these storage solutions:
- Store cooled cookies in an airtight container at room temperature for up to 5 days
- Freeze baked cookies (without Kisses) for up to 3 months, then thaw and add Kisses after warming slightly
- Prepare the dough up to 3 days in advance and store in the refrigerator
- Freeze dough balls (before sugar-coating) for up to 3 months in a freezer-safe container
- When stacking in containers, place parchment paper between layers to prevent the Kisses from being damaged
Conclusion
Classic Peanut Butter Blossoms (Hershey Kiss Cookies!) embody the perfect balance of nostalgia, flavor, and visual appeal that make them a staple of holiday baking. The combination of soft peanut butter cookie with a chocolate Kiss creates a treat that satisfies multiple cravings in one bite. Whether you’re maintaining a family tradition or starting a new one, these cookies deliver consistent joy with every batch. Ready to create some holiday magic? Preheat your oven, gather your ingredients, and prepare to watch these beloved cookies disappear from your cookie jar faster than you can say “Hershey’s Kiss!”
FAQs
Can I make these cookies ahead of time for a holiday party?
Absolutely! These cookies stay fresh in an airtight container for up to 5 days, or you can freeze the dough balls for up to 3 months and bake as needed.
Why do my Hershey Kisses crack when I press them into the cookies?
If your Kisses are cracking, the cookies might be too cool. Press them in immediately after removing the cookies from the oven while they’re still hot and soft.
Can I use natural peanut butter in this recipe?
Yes, but expect a slightly different texture. If using natural peanut butter, make sure it’s well-stirred and not too oily, and consider adding an extra tablespoon of flour to compensate.
Are there nut-free alternatives for this recipe?
For nut allergies, try substituting sunflower seed butter or cookie butter for a similar texture and experience without the allergens.
How do I prevent my cookies from spreading too much?
Chilling the dough is crucial! Make sure to refrigerate for at least one hour, and if your kitchen is particularly warm, consider chilling the shaped dough balls for 15 minutes before baking.